Wedding seating plan: how to seat your guests, step by step
A seating plan looks simple until you sit down with the guest list. Who goes next to whom, where do the parents sit, what about cousins who have never met, and where do the work friends go?
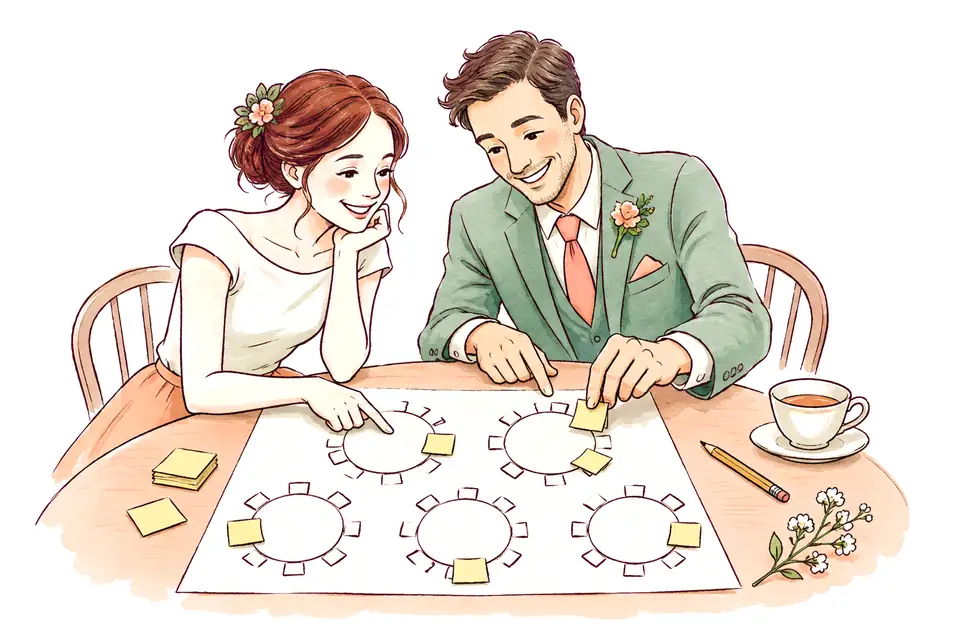
Here is an order that makes the job manageable, plus a few rules that help guests from both sides start talking sooner.
1. Start with a final guest list
A plan only makes sense once the RSVPs are in. Before that, sort guests into rough groups: one family, the other family, friends, colleagues, guests with children, guests from abroad.
Next to each name, note who they know in the room. That is the most useful piece of information when you build the tables.
2. Learn the room and the table shapes
Ask the venue for a floor plan with dimensions and seats per table. At round tables the whole group talks; at long banquet tables people mostly talk to their neighbours and the person opposite.
Mark the dance floor, the band or DJ, the exits and the speakers. Don't seat older guests or families with small children next to the speakers.
3. The top table and the parents
Place your own table first: just the two of you, with the wedding party or with your parents. Seat parents and grandparents close by, with a good view of you and the dance floor.
4. Groups who know each other, plus one bridge
Tables are easiest to build from groups who already know each other. To keep the room from splitting into two families, add a person or couple from the other side to each table who has something in common with the rest: children of a similar age, a job, a hobby or a hometown.
Nobody should sit entirely among strangers. One familiar face per table is enough to feel at ease.
5. Children, single guests and guests from abroad
Children are best seated with their parents or at a children's table with a supervisor, close to the parents. Don't put all the single guests at one “singles table” — seat them where they know at least one person.
Seat guests who speak another language next to someone who speaks it too. At a bilingual wedding, table materials in both languages help as well.
6. Tools and the seating chart
A spreadsheet or sticky notes on a printed floor plan are enough — both are easy to move around. Finish with a seating chart at the entrance and place cards or table numbers.
Check the plan with the parents on both sides. They know who hasn't spoken in years and who is better kept apart.
7. The seating plan is only the beginning
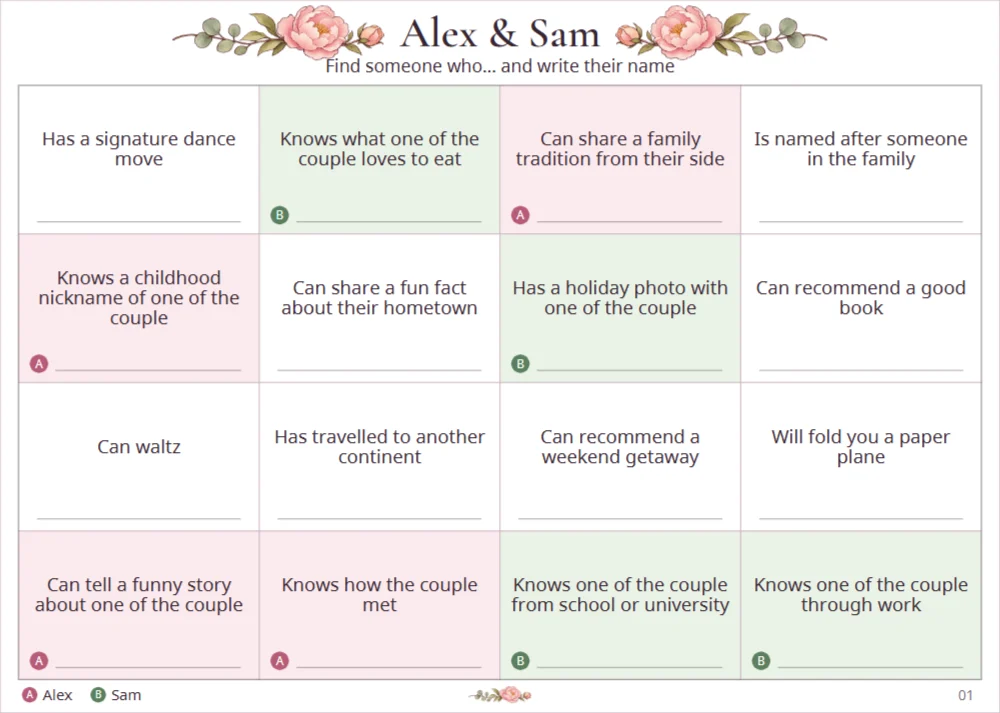
A good plan puts people next to each other, but it won't make them talk. A simple game at the tables helps here, such as “Find someone who…” cards with prompts that send guests to other tables — including the other family's.
Once your seating plan is ready
Make cards that lead guests from their table to the others. You can download a sample card before you buy.
Create your cards